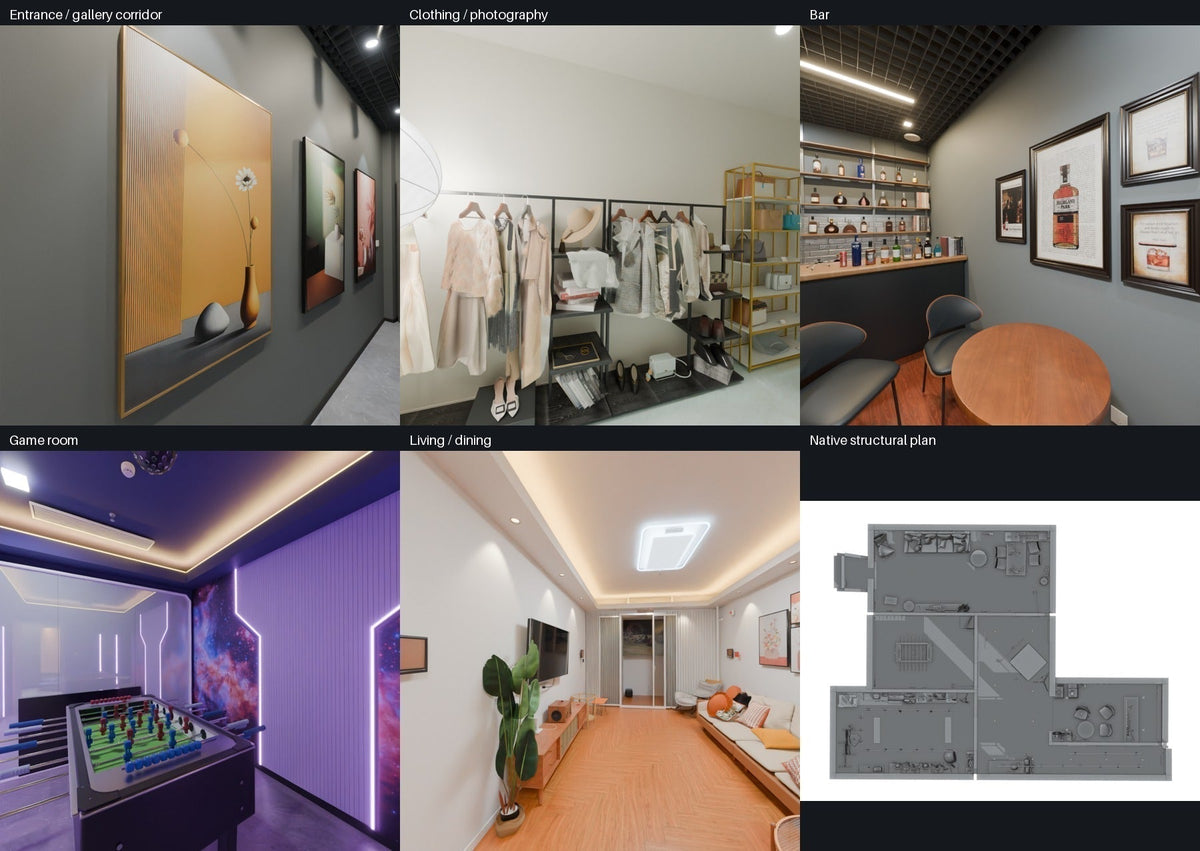


What is Pano to 3D?
Pano to 3D is a feature that allows you to upload multiple panoramic images with shared viewpoints and automatically calculates their relative positions to generate a 3D Virtual Tour with a realistic 3D model that can be explored. This guide will walk you through step-by-step instructions to effectively leverage this dynamic feature. Let's embark on the journey of transforming your panoramas into mesmerizing 3D tours!
How to use ‘Pano to 3D’?
- Log in to the Console (Realsee) , click on 'My Spaces', and locate 'Create project'. Click on 'Create project' - 'Pano to 3D' to enter the panorama image upload page.

- Click on the light blue area to upload the panoramic images you want to use for generating the 3D Tour.
- Please upload panoramas in JPG format.
- Images should have a 2:1 aspect ratio.
- The resolution should not exceed 16000x8000 pixels
- Each panorama should be under 120MB.
Please ensure that you adhere to the above rules when uploading images. Failure to comply may result in a validation error, displaying the message "Verification Failed."


- If you need to create a multi-floor space, add floors first, and then upload panoramic images for each floor by clicking the "+" icon in the top left corner.

- Once the panoramic images are uploaded, click the "Generate" button in the top right corner to start the panoramic image stitching process.

- Confirm submission and generate 3D Tour. The generating process may take some time depending on the number of uploaded images, please be patient.

- The project in the 3D Tour list will show a "Creating!" status, indicating that it is undergoing data verification first. Once approved, it will automatically transition to the generating phase.


- When the automated validation passes and there are no issues with the project, simply wait a moment to receive the generated VR. Once the VR is successfully created, the project status in the 3D Tour list will change to 'Inactive.'

- Click on the initial view to enter the preview page and view the VR generated by the Pano to 3D feature.


Special Circumstances Explanation
Note: The appearance of a red exclamation mark indicates that the automated validation failure is due to the lack of common view points between the positions or very weak common view points. This aligns with the necessary conditions for successful automatic stitching during capture.
- If there are issues with the points, a red exclamation mark will appear in the project list. You will need to go to the "Modify Scan" to check and adjust the points. (Clicking the notification text will allow for a quick jump.)

- Please adjust the points in the Modify Scan, and then trigger "Generate 3D Tour" to proceed.

- The subsequent actions are the same as those from Step 6 onwards. Therefore, they will not be reiterated here.
See What One Capture Can Deliver
If you are weighing up how to capture a property once and deliver photos, floor plans and a navigable tour from the same visit, look at the full list of capture deliverables or talk with our team about a workflow that fits your packages.