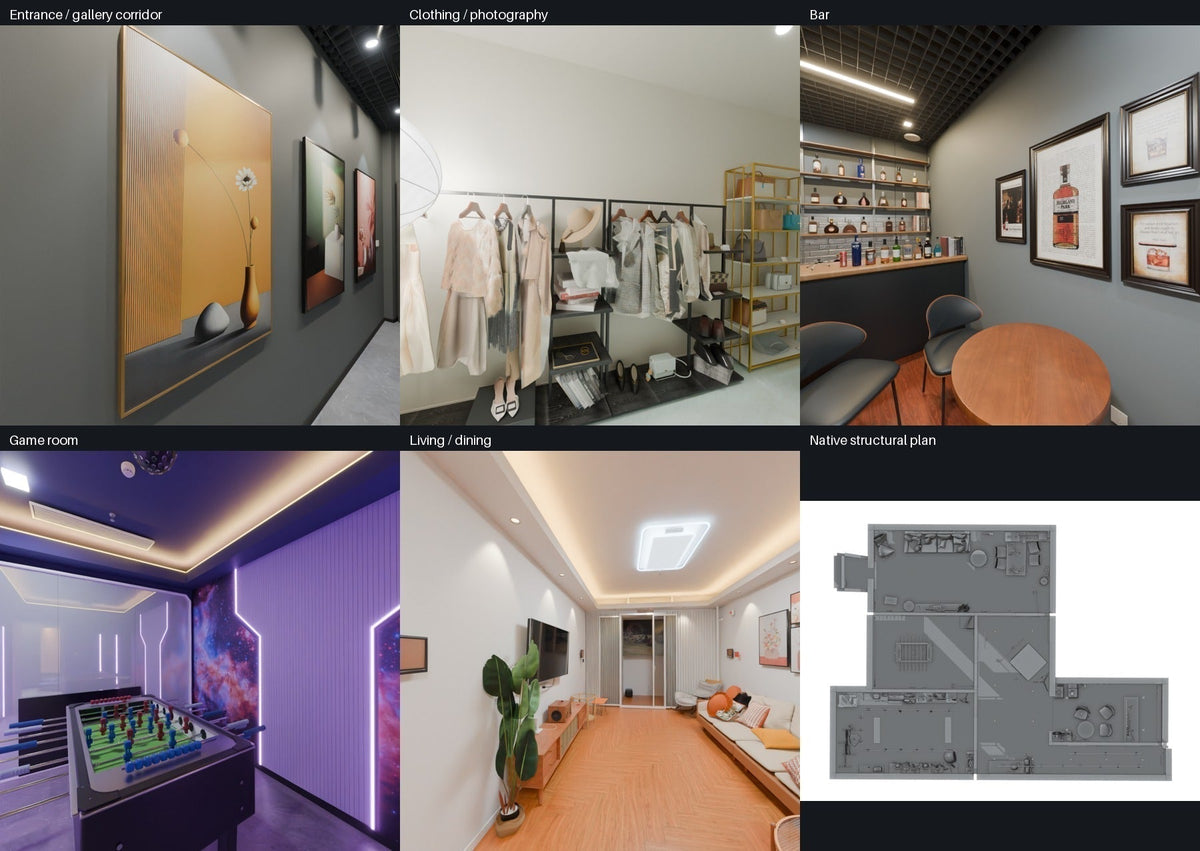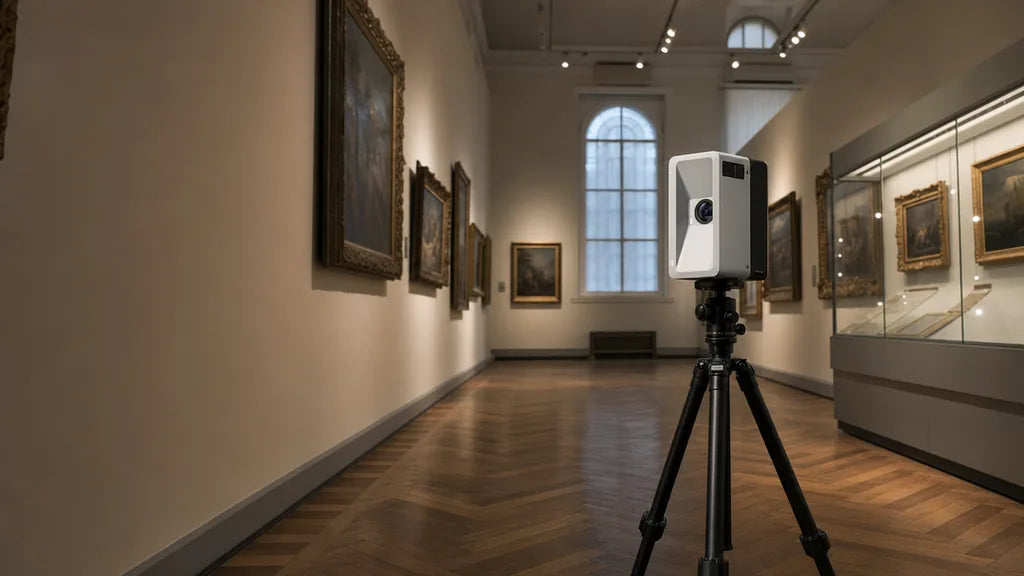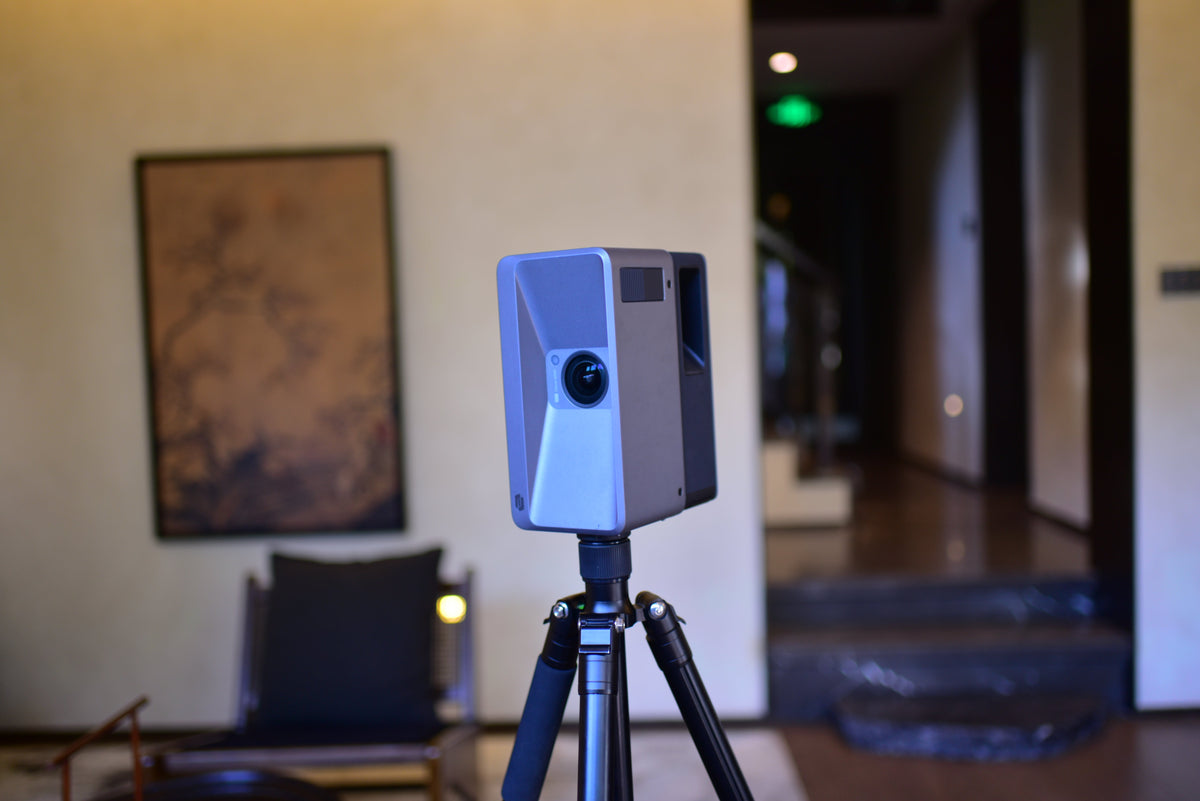


3D real estate photography uses visual and spatial media to help viewers understand both the appearance and layout of a property. A project may combine professional photos, video, 360-degree panoramas, floor plans, and an interactive virtual tour. The right mix depends on the property, the client’s marketing goals, and the capture workflow.
For real estate photographers, 3D capture is not simply another deliverable. It can become part of a more complete property-media service: one that helps agents, owners, developers, and commercial-property teams present a space before an in-person visit.
What Is 3D Real Estate Photography?
3D real estate photography is a broad term for property-media workflows that combine visual assets with spatial context. Unlike a standard image gallery, a 3D property experience can help a viewer understand how rooms, floors, entrances, corridors, and outdoor areas relate to one another.
The workflow may include:
- Professional listing photography
- Property video
- 360-degree panoramas
- Interactive 3D virtual tours
- 2D floor plans
- Guided viewing routes
- Interactive labels or links
- Selected still images for marketing and social media
Not every property needs every format. A small apartment may only require listing photos, a floor plan, and a simple virtual walkthrough. A luxury home, hotel, showroom, office, or commercial property may need a more detailed experience that includes multiple media formats and a carefully planned visitor journey.
The goal is not to replace traditional real estate photography. Instead, 3D real estate photography gives photographers more ways to explain a property clearly and help clients use the right asset for the right audience.
Why Photographers Add 3D Tours to Real Estate Packages
Traditional property photography remains essential because it controls composition, lighting, framing, and visual emphasis. A virtual tour serves a different purpose: it allows viewers to explore a property and understand its layout at their own pace.
For photographers, adding 3D tours can make a property-media package more useful for clients who need to:
- Present a home to remote buyers or tenants
- Show room-to-room flow before an in-person visit
- Explain the relationship between indoor and outdoor spaces
- Highlight amenities, upgrades, or important rooms
- Create a more complete listing or property-presentation package
- Share a commercial space, venue, hotel, retail environment, or showroom with stakeholders
- Give sales teams a link they can include in email, websites, presentations, and follow-up materials
A 3D tour works best when it is planned as part of the full property story. Before a shoot, photographers should ask how the client intends to use the final media—not just which files they want to receive.
What Can a 3D Property Media Package Include?
A well-designed real estate media package combines formats that answer different viewer questions.
| Deliverable | Best Use | Viewer Question It Helps Answer | Common Client Use |
|---|---|---|---|
| Professional photos | Visual impact and marketing | What does the property look like? | Listings, brochures, social media, websites |
| Property video | Curated storytelling | What should viewers notice first? | Social content, landing pages, agent promotion |
| 360-degree panoramas | Immersive viewing from selected locations | What does this room feel like from one viewpoint? | Websites, venue previews, virtual viewing |
| Interactive 3D tour | Room-to-room exploration | How do the rooms, levels, and spaces connect? | Property listings, remote viewing, sales presentations |
| Floor plan | Fast layout reference | Where are the rooms and how are they arranged? | Listing pages, brochures, planning conversations |
| Guided route | Curated walkthrough | What is the recommended path through the property? | Client presentations, featured listings, venues |
| Labels and links | Context for key details | What is this room, feature, amenity, or product? | Homes, hotels, retail spaces, showrooms |
| Still exports or snapshots | Reusable marketing images | Can this particular view be reused in a campaign? | Email, social media, brochures, project updates |
For example, a photographer may provide hero images for a listing portal, a short vertical video for social media, a floor plan for quick layout reference, and a 3D virtual tour for viewers who want to explore the property in more detail.
3D Tour vs Photos vs Video vs Floor Plan
Photos, video, floor plans, and 3D tours should not be treated as identical alternatives. Each format is useful at a different point in a viewer’s decision process.
| If the Client Wants To… | Recommended Format | Why |
|---|---|---|
| Create a strong first impression | Professional photos | Photos can highlight light, design, finishes, and the best angles |
| Tell a short visual story | Property video | Video guides viewers through a selected narrative |
| Let viewers look around from a fixed position | 360 panorama | A panorama provides immersive viewing from one location |
| Help viewers understand room-to-room flow | Interactive 3D tour | A tour can show how spaces connect and how people move through the property |
| Show the layout at a glance | Floor plan | A floor plan provides a quick spatial reference |
| Highlight features or amenities | Labels, links, or a guided route | Interactive details can add context without overloading the main description |
| Create a richer marketing package | Combined media package | Different formats support listings, social content, presentations, and remote viewing |
A practical example: an agent may use photos to attract attention, video to introduce the property on social media, a floor plan to explain the layout, and a 3D tour to help interested viewers explore before booking a viewing.
How to Create a 3D Virtual Tour for a Property
A reliable virtual-tour workflow begins before the first capture position. The aim is to create a clear, connected, client-ready experience—not simply to collect images.
1. Confirm the client’s goals
Start by understanding the property type, audience, and final use of the media.
Ask questions such as:
- Is the project for a home sale, rental, hotel, venue, showroom, office, or commercial property?
- Who will use the final tour: buyers, tenants, guests, investors, sales teams, or internal staff?
- Will the client need photos, video, 360 panoramas, a 3D tour, floor plans, or a combination?
- Will the tour be shared by link, embedded on a website, used in a presentation, or sent in email follow-up?
- Are there rooms, amenities, products, or features that should be highlighted?
- Are there privacy concerns involving people, personal belongings, screens, documents, vehicles, addresses, or license plates?
A clear pre-shoot brief helps photographers plan the capture route, set expectations, and recommend the right deliverables.
2. Prepare the property
Property preparation affects both visual quality and the viewer experience.
Before capture:
- Remove clutter where possible.
- Open interior doors that should be part of the intended walkthrough.
- Check that corridors, stairways, and connecting spaces are accessible.
- Decide whether garages, balconies, patios, gardens, entryways, or exterior areas should be included.
- Remove or secure sensitive items before capture.
- Identify any rooms or details that should not appear in the final shared experience.
- Confirm whether people, staff, guests, or clients will be present during the shoot.
If a key connection is blocked or missed, the final tour may feel incomplete. Preparing the route before capture is usually more efficient than trying to solve missing connections after the photographer has left the site.
3. Plan a natural viewing route
A good 3D property tour should feel intuitive. Plan a route that follows how a visitor would move through the space.
For a typical home, a route may begin at the main entrance, continue through shared living areas, move along corridors into bedrooms or private rooms, include stairs and landings, and finish with relevant outdoor areas.
Pay extra attention to:
- Entrances and hallways
- Doorways between important rooms
- Stairs and landings
- Narrow corridors
- Transitions between different floors
- Indoor-to-outdoor connections
- Detached rooms, garages, guest houses, or separate structures
Capture positions should be planned so that key transitions remain clear and connected. The appropriate spacing and capture method depend on the chosen device, mode, property layout, and required level of detail.
4. Capture the space completely
While capturing, prioritize complete coverage and a clear route through the property.
A practical approach is to:
- Follow the route planned before the shoot.
- Include important transitions instead of only capturing the main rooms.
- Check doors, hallways, stairs, corners, and entrances carefully.
- Avoid removing important connecting positions solely to reduce the number of capture points.
- Review challenging areas such as dark rooms, long corridors, reflective surfaces, open spaces, and outdoor sections.
- Check that every space included in the client brief has been covered before leaving.
Complex spaces may require a different strategy. Multi-floor homes, large villas, hotels, commercial spaces, and properties with separate indoor and outdoor zones should be planned carefully before capture.
5. Upload and review the project
After capture, process the project using the workflow supported by your chosen platform and equipment.
Before sharing anything with the client, review the complete experience from the viewer’s perspective.
Check:
- Is the opening view appropriate for the property?
- Can viewers move naturally between key rooms?
- Are stairs, hallways, entrances, and transitions easy to understand?
- Are all intended floors represented correctly?
- Are there any missing, duplicated, confusing, or visually distracting areas?
- Are the names of floors, rooms, or labels accurate?
- Is there content that should be removed, hidden, blurred, or reviewed?
- Does the final link work on the browser and mobile device that the client is likely to use?
This stage turns a captured project into a professional deliverable.
6. Prepare the tour for client delivery
A client-ready virtual tour should be clear, clean, and easy to share.
Depending on the selected platform and workflow, photographers may need to:
- Review or remove unwanted surrounding areas.
- Review mirrors, reflective surfaces, shadows, screens, documents, and personal items.
- Add room names, labels, or points of interest.
- Create a guided route for clients who want a curated walkthrough.
- Add links to relevant pages, booking information, media, or property details.
- Test external links and embedded content before delivery.
- Confirm that the opening view, cover image, and sharing settings match the client’s expectations.
Use interactive details selectively. Too many labels, links, or visual elements can make a tour harder to navigate. The best client-facing experience is usually simple, purposeful, and easy to understand.
7. Deliver the final property-media package
A professional delivery makes it easy for the client to use the work immediately.
Your delivery email or project handoff can include:
- The shareable 3D-tour link
- A short explanation of how the client can use the tour
- Access to professional photos, video, panoramas, or floor plans
- Notes on any featured labels, guided routes, or external links
- Suggested uses for each asset, such as listing pages, websites, email, social media, presentations, or brochures
- A clear process for requesting revisions
Before delivery, open the final link yourself on both desktop and mobile. A quick quality check can prevent avoidable client questions about access, navigation, missing media, or incorrect information.
Capture Planning for Different Property Types
| Property Type | Main Priorities | Common Challenges | Useful Deliverables |
|---|---|---|---|
| Studio or small apartment | Clear entrance-to-room flow, tidy presentation, full room coverage | Tight spaces, mirrors, corners, shared corridors | Photos, 3D tour, floor plan, selected panoramas |
| Family home | Room-to-room continuity, bedroom coverage, stairs, storage, exterior context | Multiple floors, clutter, varied lighting, closed doors | Photos, video, 3D tour, floor plan |
| Luxury home or villa | Key amenities, architectural details, indoor-outdoor flow, premium presentation | Large layouts, pools, balconies, gardens, detached areas | Photos, video, 3D tour, floor plan, guided route |
| Commercial office | Reception, meeting rooms, circulation paths, work areas, amenities | Access control, staff, screens, documents, privacy | 3D tour, photos, labels, floor plan |
| Retail or showroom | Customer journey, displays, product zones, entrances | Reflective surfaces, changing displays, visitors | 3D tour, photos, labels, linked media |
| Hotel, restaurant, or venue | Guest journey, room types, amenities, event spaces | Operations, guests, lighting, multiple room layouts | 3D tour, photos, video, guided route |
| Warehouse or industrial property | Scale, circulation, key zones, visual documentation | Large layouts, repeated areas, restricted zones, safety requirements | 3D documentation, labels, floor plans where required |
Commercial and operational spaces may require additional planning for access, privacy, business continuity, and safety. Always clarify the client’s intended use before confirming the deliverables.
How to Prepare a Client-Ready 3D Property Tour
A finished 3D tour should be reviewed as a client-facing product, not just as a generated project.
Use this checklist before you send a link:
- The starting view makes sense for the property.
- Key rooms, floors, entrances, and transitions are easy to find.
- Navigation is clear in the most important areas.
- Room names and labels are accurate.
- Sensitive information has been reviewed before sharing.
- Unwanted content has been addressed where possible.
- Interactive labels and links are useful and not excessive.
- External links, videos, or media elements have been tested.
- The tour link works on desktop and mobile.
- The client understands how to use and share each deliverable.
If a tour has broken navigation, confusing room relationships, missing areas, or an incomplete floor, identify the cause before delivery. Common issues may include incomplete coverage, missing transition positions, changed doors or access conditions, sparse capture in key areas, or project settings that need further review.
How to Package 3D Real Estate Photography Services
Photographers can make it easier for clients to choose by offering packages based on intended outcomes rather than technical terminology alone.
| Package | Best For | Example Deliverables | What the Client Can Use It For |
|---|---|---|---|
| Essential Listing Package | Standard residential listings | Professional photos and selected immersive media | Creating a stronger first impression on listing pages and social channels |
| Enhanced Virtual-Tour Package | Remote buyers, tenants, agents, and sellers | Professional photos, a 3D tour, a floor plan, and a shareable link | Helping viewers understand the space before arranging a visit |
| Premium Property-Marketing Package | Luxury homes, commercial properties, hotels, showrooms, and venues | Photos, video, 3D tour, floor plan, guided highlights, selected labels or links | Creating a complete presentation across websites, presentations, and marketing channels |
Do not describe packages only by the number of photos or the number of technical features. Explain what the client can do with the work: share a walkthrough, show the layout, highlight a feature, introduce a venue, or support a property presentation.
Choosing a 3D Capture Camera and Platform
The best camera and platform are not always the ones with the longest specification sheet. The right choice depends on the projects you want to deliver and the workflow you can operate consistently.
When comparing 3D capture options, consider:
- The properties you serve: homes, apartments, commercial spaces, hotels, retail, venues, or mixed use
- Your preferred capture workflow and setup time
- The visual quality expected by your clients
- The level of spatial detail required
- Whether you need 3D tours, 360 panoramas, floor plans, still images, video, or technical outputs
- Available editing, branding, sharing, and embedding options
- Team collaboration and project-management needs
- Hardware, platform, storage, and delivery costs
- Training, documentation, support, and local availability
Choose based on the full workflow—from first capture to client delivery—not on one feature alone.
Frequently Asked Questions
1. What is 3D real estate photography?
3D real estate photography is a property-media workflow that combines visual assets with spatial context. It may include professional photos, video, panoramas, floor plans, and interactive virtual tours that help viewers understand a property’s layout and flow.
2. How is a 3D virtual tour different from a 360 panorama?
A 360 panorama lets a viewer look around from one fixed viewpoint. A 3D virtual tour is designed to connect multiple viewpoints so viewers can move between rooms and understand how spaces relate to one another.
3. How far apart should capture positions be in a 3D property tour?
The appropriate spacing depends on the capture system, property layout, level of detail required, and project type. Plan positions so that important transitions—such as doors, stairs, hallways, and corners—remain clear and connected. Follow the current guidance for the device and workflow you use.
4. How do I capture stairs and multiple floors for a 3D tour?
Treat stairs, landings, and corridors as part of the same visitor route. Capture them carefully, keep the sequence logical, and review the completed project to make sure viewers can understand the connection between floors.
5. Can I include indoor and outdoor areas in the same virtual tour?
Yes, when there is a clear physical transition between the spaces, such as an entrance, patio, balcony, garage, or garden path. Large, disconnected, or operationally separate areas may require a different capture or project structure.
6. What should I do if viewers cannot move between two areas?
Check whether the original capture includes sufficient coverage around the transition. Navigation issues can result from missing positions, incomplete coverage, changed access conditions, sparse capture, removed connecting positions, or project settings that need review.
7. Should I deliver a 3D tour, photos, video, or a floor plan?
In many cases, the strongest option is a combination. Photos create visual impact, video provides a curated story, floor plans provide layout reference, and 3D tours help viewers explore room-to-room relationships. Recommend the mix that matches the property and the client’s intended use.
8. How should I protect privacy before sharing a property tour?
Prepare the property before capture, remove sensitive items where possible, review the final content carefully, and confirm the client’s requirements for personal belongings, people, screens, documents, vehicles, addresses, and other private information before sharing.
Explore Realsee for Real Estate Photography
Realsee supports workflows for creating and sharing immersive property experiences. Depending on the selected device, project type, account configuration, and available add-ons, photographers may be able to create interactive 3D tours and access additional presentation or documentation tools.
Before choosing a workflow for client work, review the current product documentation for supported capture methods, project requirements, editing options, deliverables, and sharing settings.
View a 3D Tour Demo
Explore Realsee for Photographers
Start a Trial